
Champagne Technology
...
How To Use A Step-By-Step Button Maker? Pro Techniques
Although making buttons may not be for everyone, it's an enjoyable craft that is enjoyed by everyone. It is a simple and easy machines that anyone can enjoy, even your young children, with some parental guidance.
The button makers are ideal for creating gifts for family and friends, creating namesakes for birthday celebrations or embellishing bags with your personal favorite quotes.
Process
Although the process of creating buttons in a button machine can vary between models to another, the basic procedure remains the same. Most of these machines are manual and easy to operate, and does not require electricity or even batteries. These machines can only be controlled by your physical power. There is no need to be equipped with a lot of.
Here are the steps you should follow to create buttons.
Installing the Button Maker
The majority of button makers are put together inside their box, especially if they are the small and handheld sizes. If the maker you've selected is a rather large one, you might have to assemble and install it yourself.
Most machines can be put together by simply screwing them to the base. This can be done with your hands, or with the screwdriver included. The next step is to place the dies onto the machine that makes buttons generally one on the bottom and another on top.
The Gathering of Button Parts
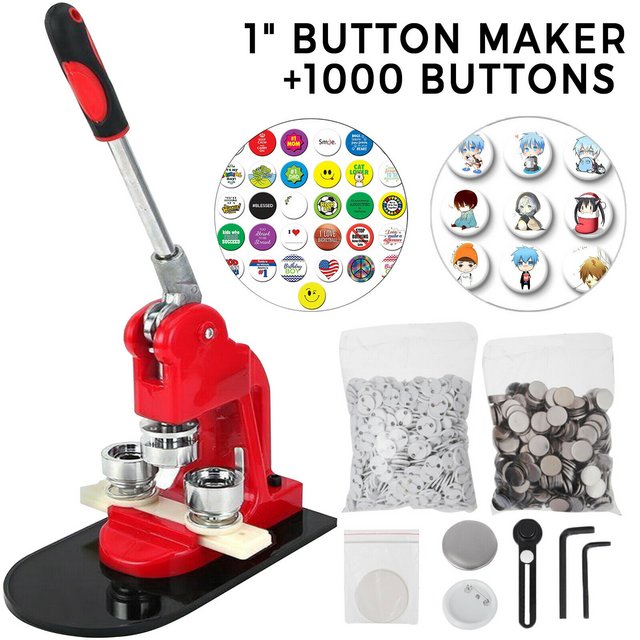
Most button makers offer all the components needed to create buttons. You can get 100 buttons accessories, or 1000 buttons. But, all the parts are typically included.
There are generally three parts of a button: a metal piece, a myler transparent piece and the pin back. These could be circular or may be a particular dimension to ensure they are compatible with your machine.
Printing the design
It is necessary to print the design you choose to make a button badge or bottle opener as well as a keychain. You can make use of a standard printer as well as regular paper for the task.
Make use of a photo-editing program to create the design, text or logo you want or an image downloaded off the Internet and then use your printer to print the design as many times as you need, in order to produce the necessary number of buttons.
The Design can be cut out
The design must be printed to the size of the button's back, then cut out to the same size. If you place an elongated border around the design it is possible to use an ordinary pair of scissors to cut out the design. It's quicker when you use an rotary cutter to complete the job, and it will be more precise as well.
A high-quality rotary cutting machine is a good investment for those who run a button-making business. It can slice out your buttons faster than the hands.
Making the different types of Buttons
Now comes the actual step of making your own buttons in the button maker. Put the metal back into one of the bottom dies (the instruction manual will inform the die you should choose).
Then, the printed paper is positioned with the design facing up and then its back side is placed on the plate. The myler or the transparent, plastic film goes next on top of the design. All the pieces need to be aligned perfectly.
Put the metal pin-back of the button inside the second bottom die right next to the die where you've placed your design.
The Batch is now complete
The procedure is the same no matter if you're creating pin-back buttons that are simple, a mirror-back button, a key chain, or even a bottle opener. The only thing that differs is the back of the button, not any of the three. You can utilize the same design for making lots of different kinds of buttons with the same machine.
A few of the most durable button makers can create up to 300 to 200 pieces in less than an hour this is very helpful for those who run an enterprise. Although the first few buttons may be more difficult to make but once you're familiar with the process, each button can be made in a few seconds.